Moduł 2
A Home Ready for Home Assistant
A Home Ready for Home Assistant
Still no Home Assistant install here, that's Module 5. Module 2 builds the foundation underneath it: a network, a physical spot for your hardware, and backup power that won't quietly sabotage everything you build on top of it later.
Installing onto a shaky network is the single most common reason beginner smart home setups fall apart within the first month. Module 2 exists to make sure that's not your story, by walking through exactly what a stable foundation requires, scaled to your actual ambition, whether that's an afternoon project or a full renovation.
| # | Lesson |
|---|---|
| 1 | Before You Install Home Assistant: What a Stable Smart Home Actually Needs |
| 2 | Where to Put Home Assistant, and Why Ethernet Beats Wi-Fi Here |
| 3 | Wiring Your Home for a Smart Home |
| 4 | Your Utility Closet, Electrical Panel, and UPS |
| 5 | Your Network Explained: IP Addresses, DHCP, DNS, and the Gateway |
| 6 | A Fixed Address for Home Assistant and Your Key Devices |
| 7 | Wi-Fi for a Smart Home: Bands, Range, Channels, Mesh, and Roaming |
| 8 | Separating Your Smart Devices From Your Everyday Computers |
| 9 | VLANs: When They're Worth It, and When Simpler Is Fine |
| 10 | Three Example Network Layouts: Simple, Reasonable, and Full-Featured |
| 11 | The Most Common Network Problems in Home Assistant, and How to Diagnose Them |
| 12 | Module Wrap-Up: Is Your Home Actually Ready for Home Assistant? |
By the end of Module 2, your network will be genuinely ready for a Home Assistant install: a reliable connection for your hub, addresses that won't quietly change, and a diagnostic path for when something inevitably goes wrong. Module 3 picks up from here with the fun part, choosing the actual hardware that will run it all.
Lessons in this module
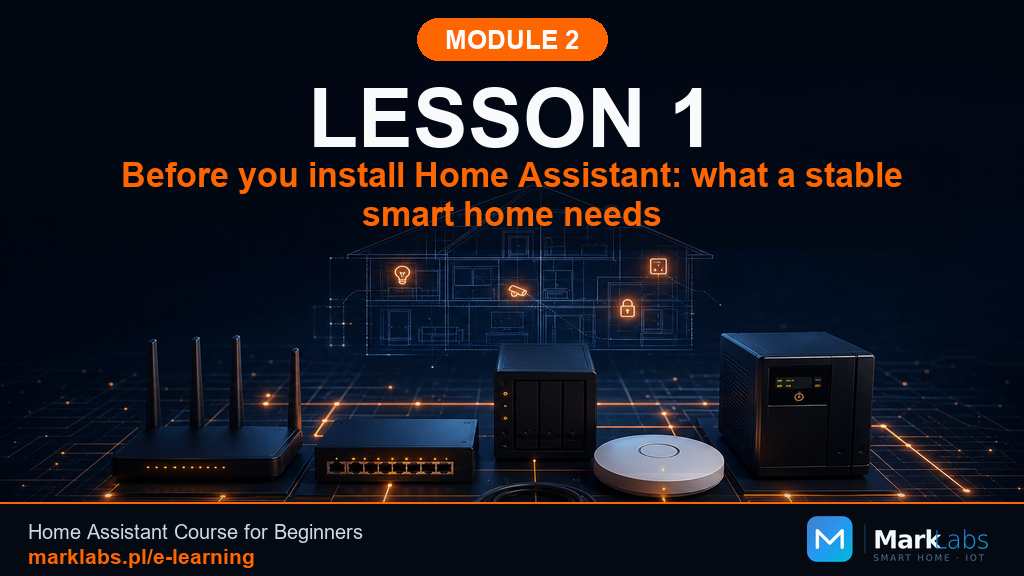 Before You Install Home Assistant: What a Stable Smart Home Actually Needs
Podgląd lekcji
2
Before You Install Home Assistant: What a Stable Smart Home Actually Needs
Podgląd lekcji
2
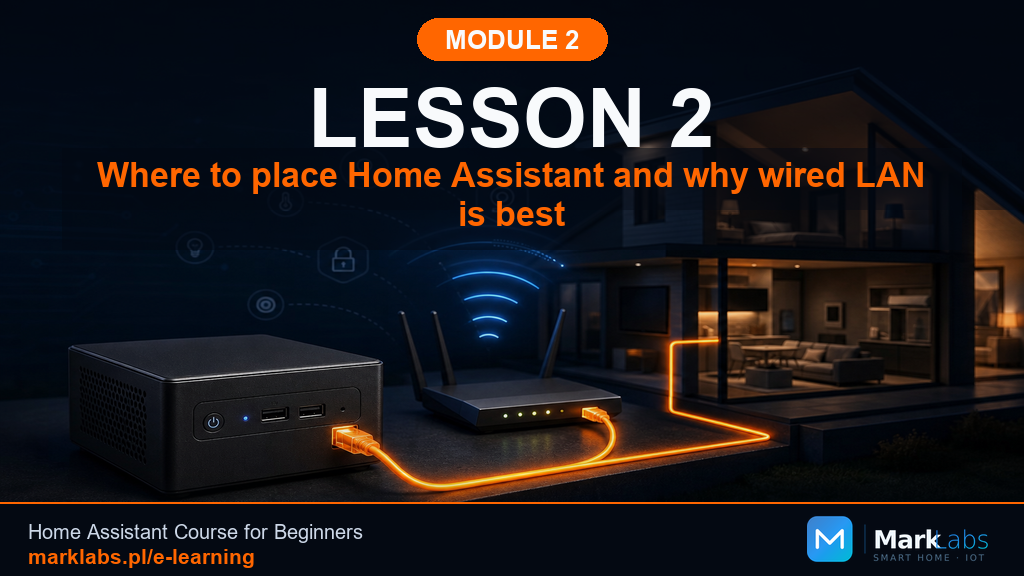 Where to Put Home Assistant, and Why Ethernet Beats Wi-Fi Here
Podgląd lekcji
3
Where to Put Home Assistant, and Why Ethernet Beats Wi-Fi Here
Podgląd lekcji
3
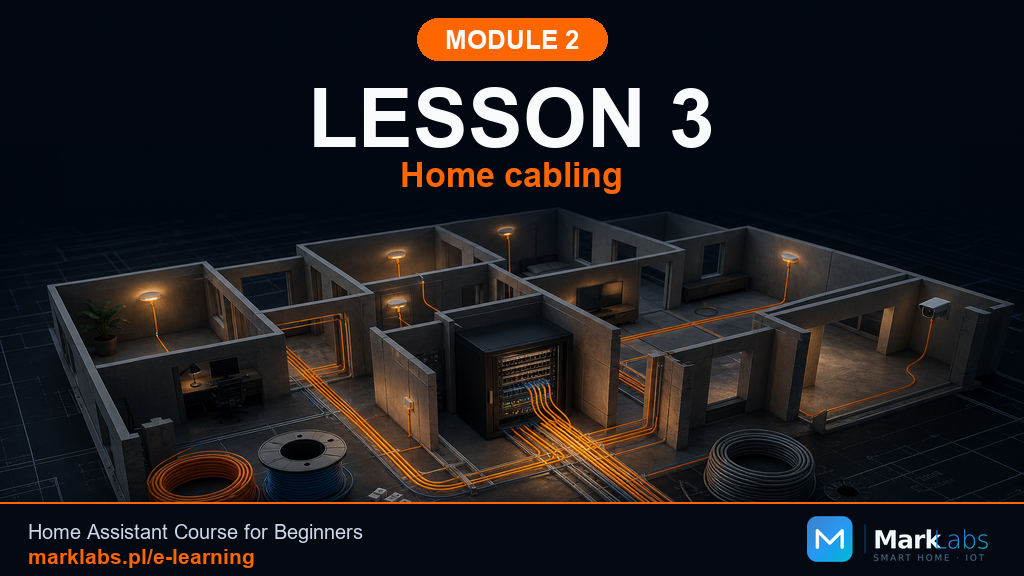 Wiring Your Home for a Smart Home
Podgląd lekcji
4
Wiring Your Home for a Smart Home
Podgląd lekcji
4
 Your Utility Closet, Electrical Panel, and UPS: Staging and Powering Your Gear
Podgląd lekcji
5
Your Utility Closet, Electrical Panel, and UPS: Staging and Powering Your Gear
Podgląd lekcji
5
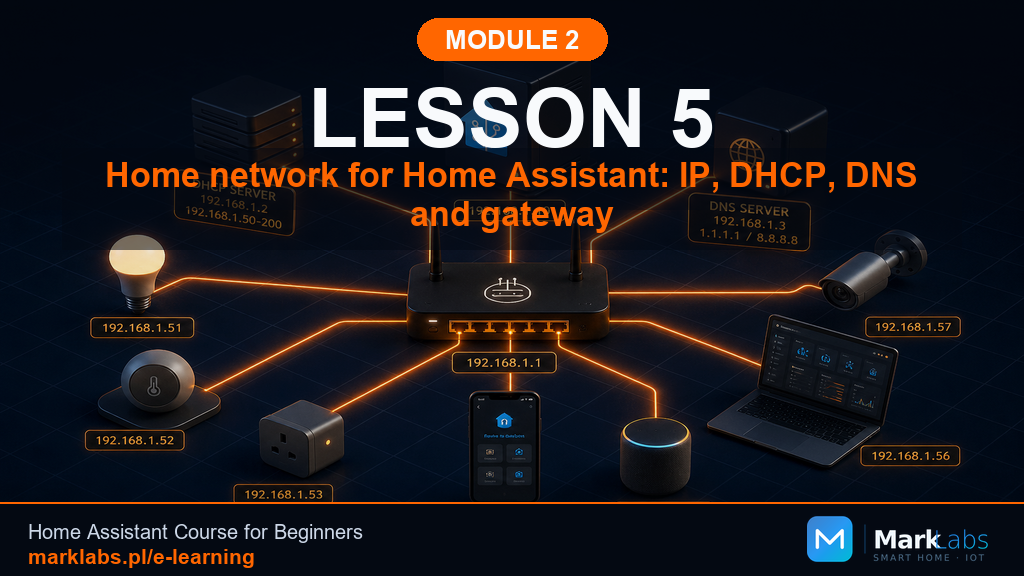 Your Network Explained: IP Addresses, DHCP, DNS, and the Gateway
Podgląd lekcji
6
Your Network Explained: IP Addresses, DHCP, DNS, and the Gateway
Podgląd lekcji
6
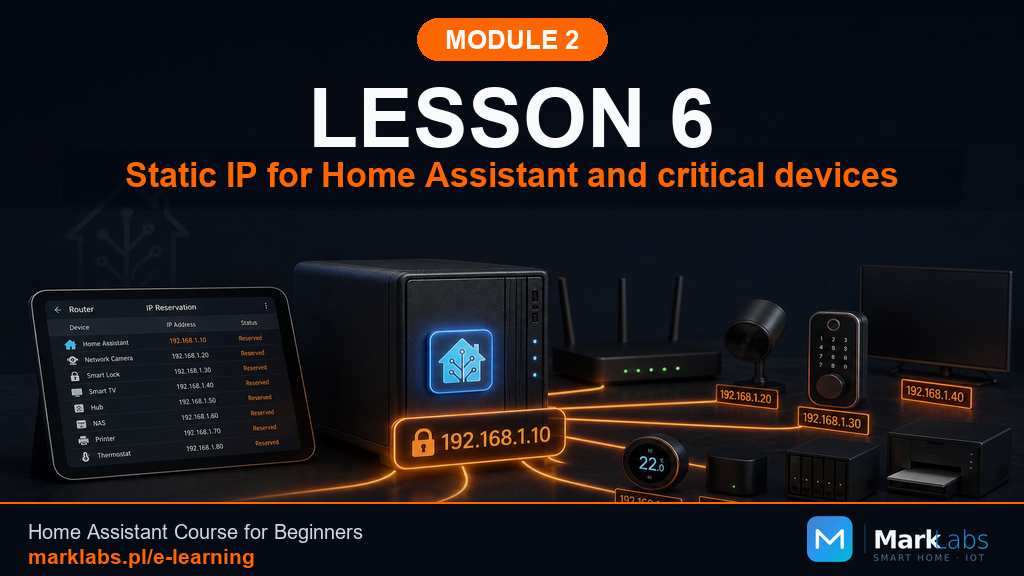 A Fixed Address for Home Assistant and Your Key Devices
Podgląd lekcji
7
A Fixed Address for Home Assistant and Your Key Devices
Podgląd lekcji
7
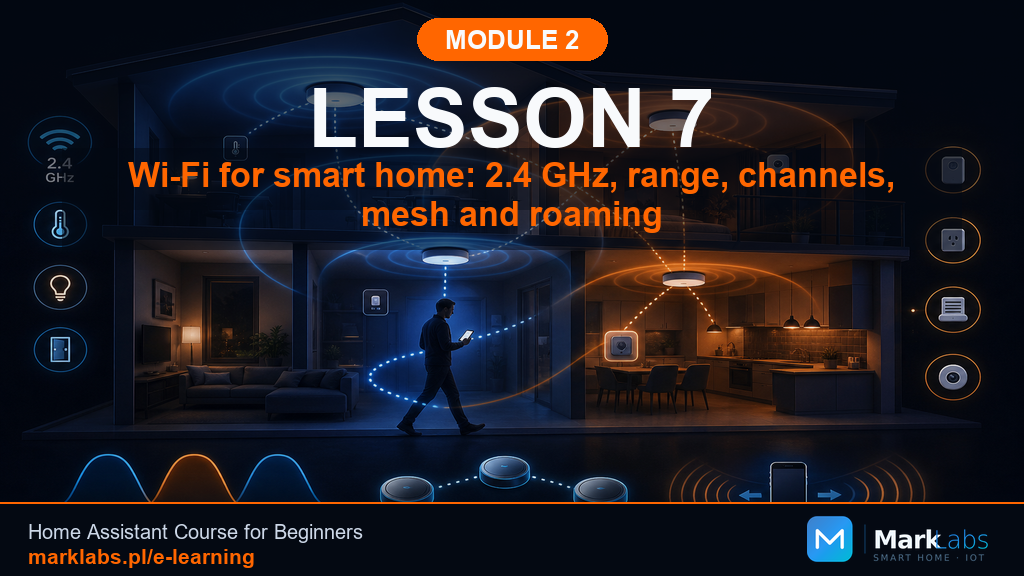 Wi-Fi for a Smart Home: Bands, Range, Channels, Mesh, and Roaming
Podgląd lekcji
8
Wi-Fi for a Smart Home: Bands, Range, Channels, Mesh, and Roaming
Podgląd lekcji
8
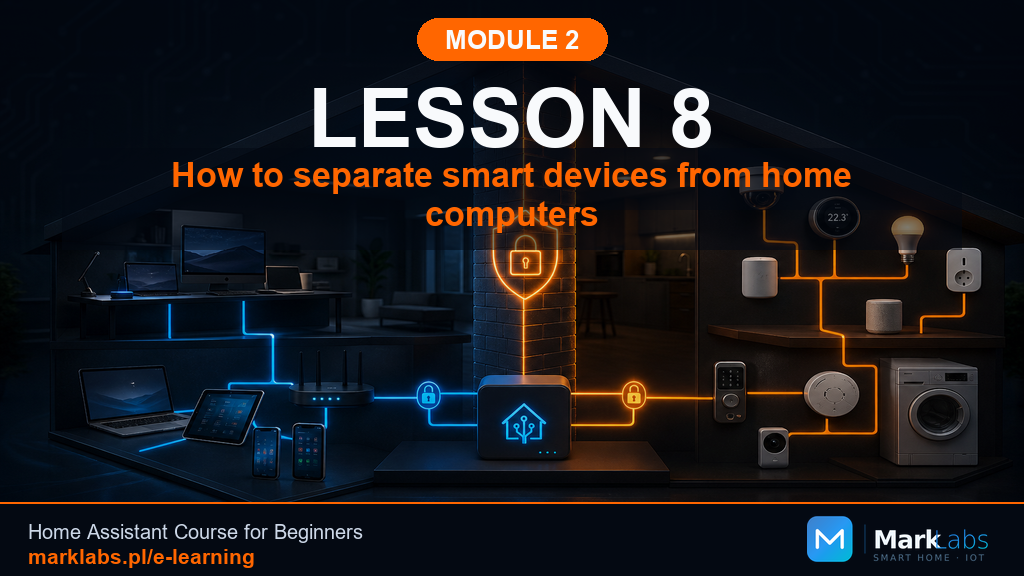 Separating Your Smart Devices From Your Everyday Computers
Podgląd lekcji
9
Separating Your Smart Devices From Your Everyday Computers
Podgląd lekcji
9
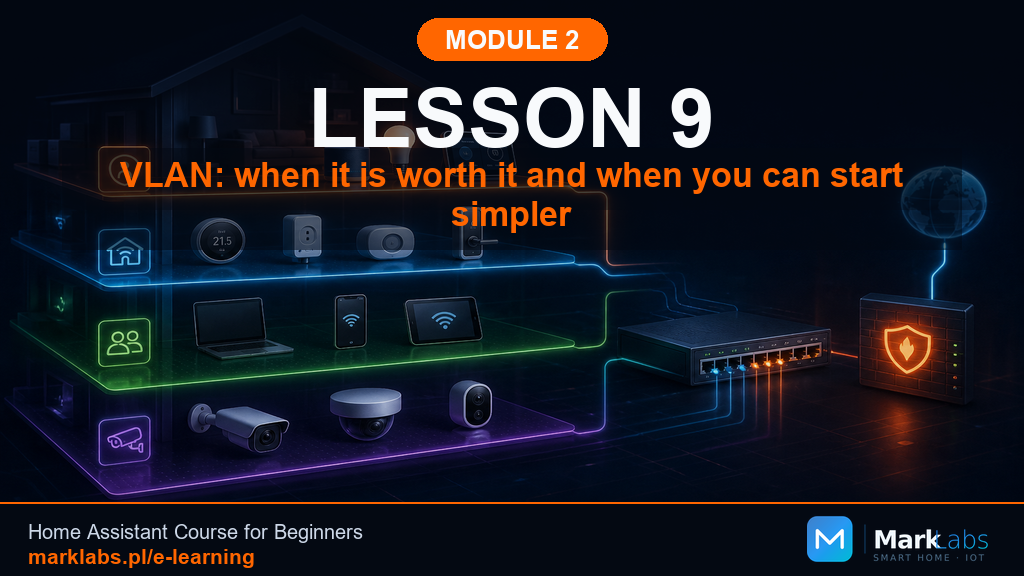 VLANs: When They're Worth It, and When Simpler Is Fine
Podgląd lekcji
10
VLANs: When They're Worth It, and When Simpler Is Fine
Podgląd lekcji
10
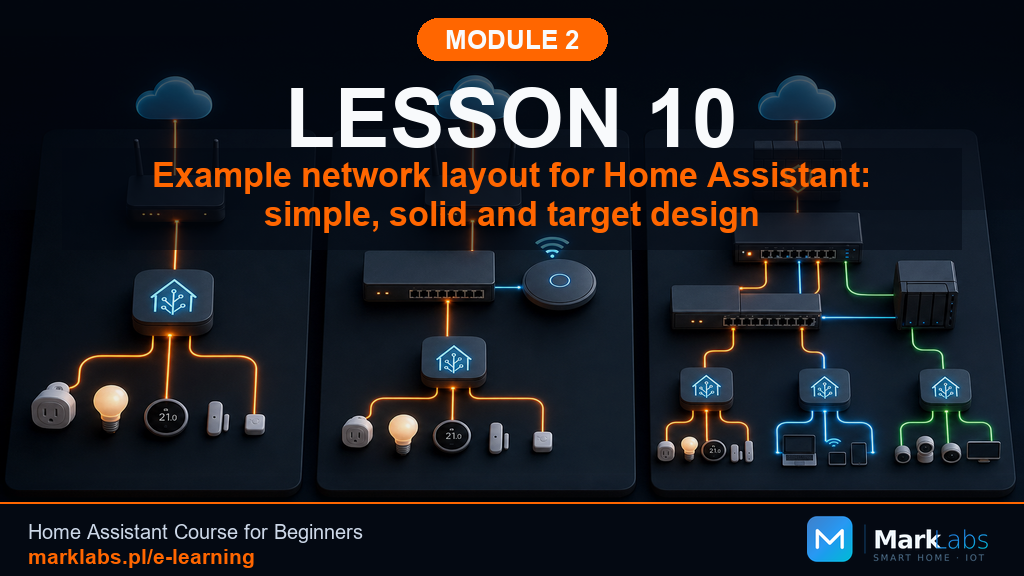 Three Example Network Layouts: Simple, Reasonable, and Full-Featured
Podgląd lekcji
11
Three Example Network Layouts: Simple, Reasonable, and Full-Featured
Podgląd lekcji
11
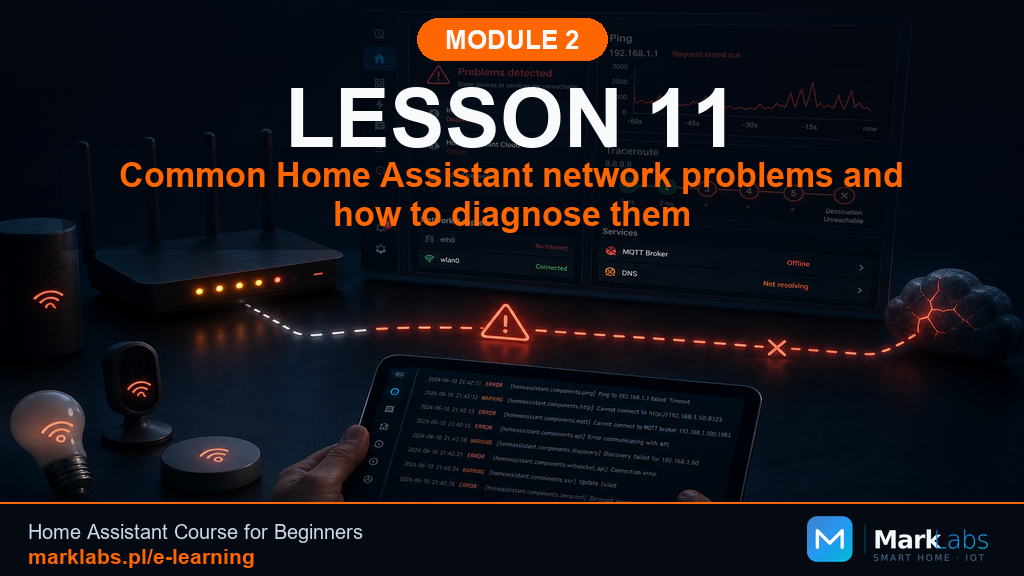 The Most Common Network Problems in Home Assistant, and How to Diagnose Them
Podgląd lekcji
12
The Most Common Network Problems in Home Assistant, and How to Diagnose Them
Podgląd lekcji
12
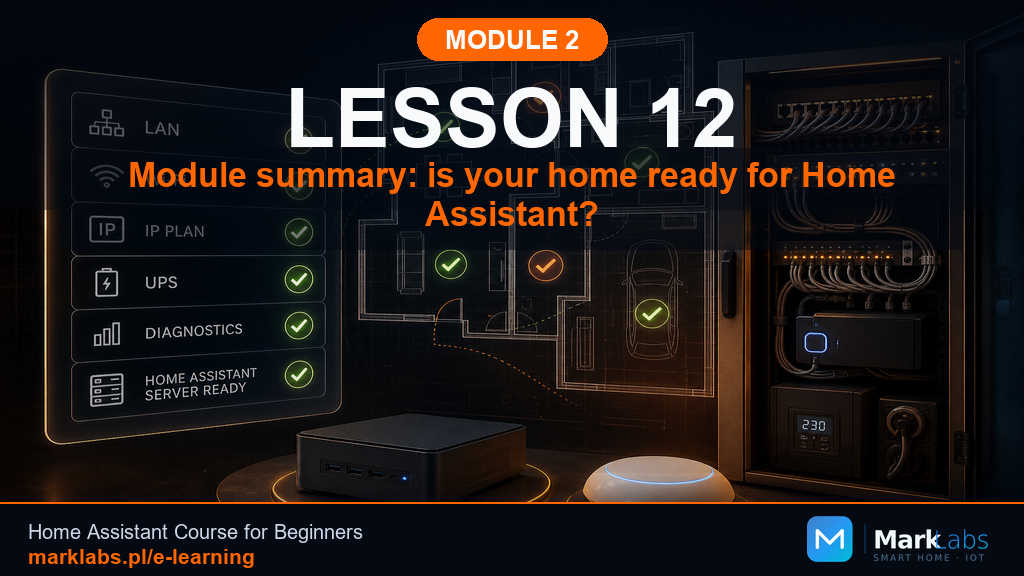 Module Wrap-Up: Is Your Home Actually Ready for Home Assistant?
Podgląd lekcji
Module Wrap-Up: Is Your Home Actually Ready for Home Assistant?
Podgląd lekcji
