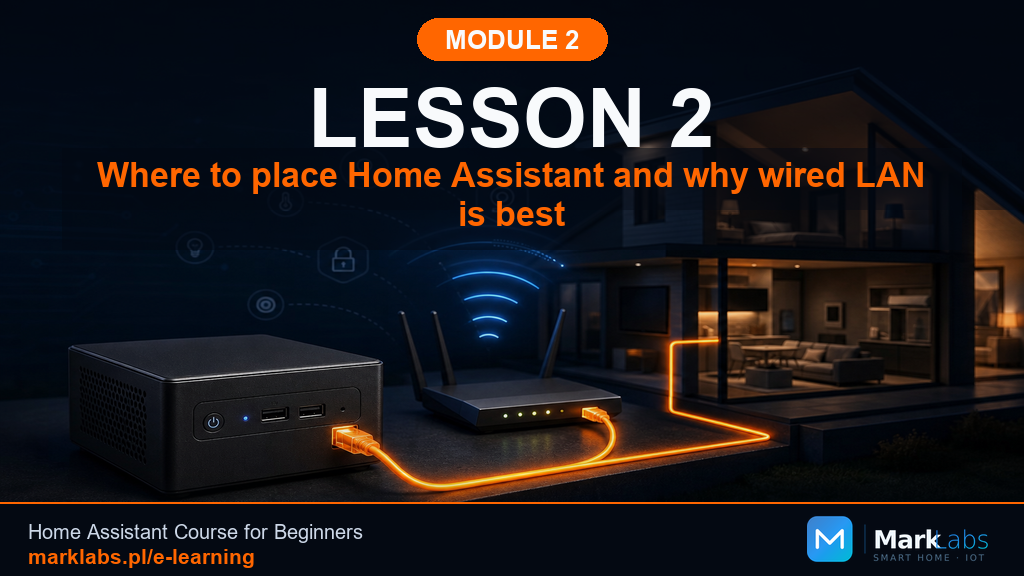
Where to Put Home Assistant, and Why Ethernet Beats Wi-Fi Here
Home Assistant is a server, not an app you glance at occasionally. That distinction changes where it belongs in your house and how it should connect to your network, and getting both right now saves you from moving hardware later.
A server, not an app
A phone app can tolerate a dropped connection, it just reconnects next time you open it. A server can't afford that same casualness, because dozens of devices and automations expect it to be reachable at all times, not just when you happen to be looking. That single difference is why this lesson exists: the placement and connection type that's perfectly fine for a smart TV is not necessarily fine for the box every automation in your house depends on.
Home Assistant as your local hub
Every device you pair, every automation you write, every dashboard you load routes through this one piece of hardware. If it's slow to reach, everything built on top of it feels sluggish. If it drops off the network for even thirty seconds during a state change, an automation can silently misfire or simply never trigger at all. This isn't a reason to panic, it's a reason to give this one device slightly more care than a smart bulb.
Why Ethernet beats Wi-Fi here
A wired connection is faster, has effectively zero interference, and doesn't degrade when someone starts a video call in the next room or the microwave kicks on. Wi-Fi is a shared, contested medium, dozens of nearby networks and devices are all competing for the same limited radio spectrum. For a device you check occasionally, that's a non-issue. For a server the rest of your smart home depends on continuously, that variability is exactly what causes the "random" glitches beginners chase for weeks. If there's an Ethernet jack anywhere near where you're planning to place your hub, use it.
Good spots for Home Assistant
Near your router or network switch. Shortest possible cable run, easiest to keep an eye on.
A closet or utility room shelf. Ventilated, out of the way, but not sealed in an airtight box.
A dedicated shelf or small rack. Covered in depth in Lesson 4, this is the level-two-and-up option.
What about a Raspberry Pi, a mini PC, a NAS, or Home Assistant Green?
Module 5 covers hardware choice in full depth, but the placement logic in this lesson applies identically no matter which one you eventually pick. A Raspberry Pi, a small mini PC, a spare NAS bay, or the purpose-built Home Assistant Green all want the same three things: a wired connection where possible, ventilation, and a spot you won't accidentally unplug while vacuuming.
Where not to put Home Assistant
Inside a sealed cabinet with no airflow, heat buildup shortens hardware life and can cause random reboots.
Directly above or next to a washing machine, dryer, or water heater, vibration and moisture are both real risks.
A spot with weak Wi-Fi and no Ethernet nearby, if you can't reach it well, don't put your hub there.
Somewhere a curious pet or toddler can easily knock it off a shelf.
Your Zigbee coordinator needs a good spot too
If your starter kit includes a Zigbee coordinator (most do), it deserves the same consideration as Home Assistant itself, ideally central to the house, not tucked in a metal cabinet or right next to a Wi-Fi router, both of which can interfere with its radio range. Module 9 covers Zigbee placement in more depth, but it's worth planning for now: the spot you pick for Home Assistant and the spot you pick for the coordinator don't have to be identical, but they should both be reasonably central.
No Ethernet jack in a good spot? Here's your fallback
Not everyone has a wired jack exactly where they'd want one. A few practical fallbacks, roughly in order of preference: run a single new Ethernet cable (Lesson 3 covers this in detail, and it's less intimidating than it sounds), use a powerline networking adapter that piggybacks on your home's existing electrical wiring (imperfect, but usually more consistent than weak Wi-Fi), or accept a strong Wi-Fi connection if your signal at that exact spot tests reliably fast and stable. A shaky wireless connection is worse than any of these alternatives.
What this looks like for your mini smart home
Stand in the exact spot you picked in Lesson 1 and check for a nearby Ethernet jack. If there's one, that settles it. If not, note the distance to your router and whether running a cable there is realistic before Lesson 3.
Three real households, three different decisions
An apartment with the router already in a central closet: Home Assistant goes right next to it, one short cable, done in five minutes. A single-family home with the router in a home office at one end of the house: a single new Ethernet run to a central hallway closet solves it permanently. A rental with no ability to run cable and a router two rooms away: a strong, tested Wi-Fi connection with a plan to revisit once (or if) that changes.
Room for a monitor and keyboard, even just once
Most day-to-day Home Assistant work happens through a web browser from any device on your network, you won't need a permanent monitor and keyboard attached. But during initial setup and the occasional deep troubleshooting session, it's genuinely useful to be able to plug a screen in directly. Pick a spot where that's physically possible, even if it's rare, rather than somewhere completely inaccessible once installed.
Temperature and dust: two quiet hardware killers
Small single-board computers and mini PCs are remarkably tolerant of everyday household temperatures, but they're not designed to sit in direct sunlight through a window, next to a heating vent, or inside a completely sealed enclosure with no airflow at all. Sustained heat shortens component lifespan and, in extreme cases, causes the system to throttle its own performance or reboot unexpectedly to protect itself. Dust is the quieter problem: a thin layer accumulating over months acts as an insulating blanket, trapping heat that would otherwise dissipate normally. Neither of these needs to be a source of anxiety, just give your hardware room to breathe and a quick wipe-down every few months.
Cable management, even for one cable
Even a single-device setup benefits from a moment of cable discipline: a short velcro tie keeping the Ethernet and power cords from dangling somewhere a curious pet, a robot vacuum, or your own foot can snag them. It sounds trivial until the day a stray tug yanks your hub's power cord loose during a movie night and nobody notices for an hour. A few dollars of cable ties, applied once, removes that risk entirely.
Planning for a second device down the line
Even if you're only placing one piece of hardware today, it's worth a moment's thought about whether you'll eventually want a second device nearby, a NAS for backups, a small network switch, an extra access point. If the spot you've picked has room to grow and, ideally, more than one available Ethernet jack or the physical space to add a small switch later, you'll save yourself a second round of planning. This doesn't mean over-building for a future that may never arrive, just avoiding a spot so cramped that any future addition means starting the placement decision over from scratch.
Revisit this decision after a season, not just once
A spot that seems perfect in spring can turn out to run noticeably hotter in summer, or damper in a rainy season, particularly in a garage, attic, or basement location. It's worth a quick check-in after your hardware has been running through at least one full season change: does the spot still feel appropriately ventilated and dry, and has anything nearby changed, a space heater added for winter, a dehumidifier removed. This isn't a demanding ongoing task, just a habit of paying attention rather than assuming day-one conditions hold true forever.
A short household conversation worth having now
If you share your home with a partner, roommates, or family, a quick heads-up about where this hardware is going to live, and a gentle reminder that it shouldn't be unplugged, moved, or used as extra shelf space, prevents a surprising number of future "why did everything stop working" moments. Most disruptions to a shared smart home don't come from technical failure at all, they come from someone unfamiliar with the setup unplugging a mysterious box to charge their phone. Two minutes of conversation now heads off a genuinely common source of frustration later, and it costs nothing beyond a moment of your time, far cheaper than the troubleshooting session that follows a mystery outage nobody can explain, and far less awkward than an accusatory group chat message trying to figure out who touched what. A short, friendly note taped near the equipment itself, along the lines of "please don't unplug, this runs the smart home," works surprisingly well too.
Key takeaways
Treat Home Assistant like the server it is, not a device you casually check.
Ethernet beats Wi-Fi for the hub itself, even in a Wi-Fi-first household.
Ventilation, dryness, and physical safety from pets or kids all matter more than looks.
No good jack nearby? Running one new cable is usually the best fix, covered next.
With a spot picked, Lesson 3 goes deep on wiring your home properly, whether that's one new cable to your chosen spot or planning structured wiring throughout an entire renovation.
