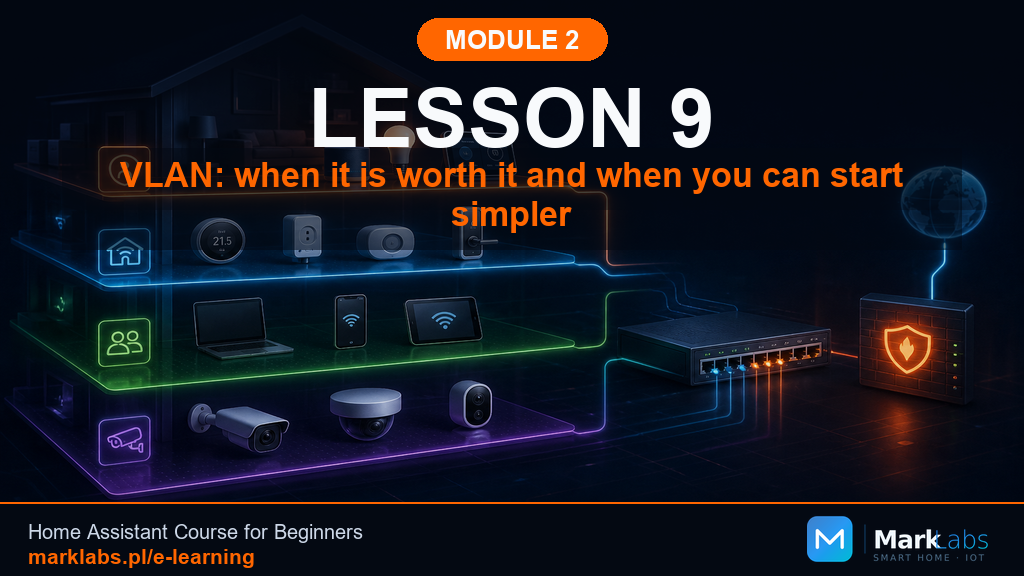
VLANs: When They're Worth It, and When Simpler Is Fine
A VLAN is the real, enforced version of the separation Lesson 8 introduced. It's more capable and more work, and most households genuinely don't need it. This lesson explains what it actually is, honestly, so you can decide for yourself rather than because it sounds impressive.
What a VLAN actually is, without the jargon
A VLAN (virtual local area network) lets you split one physical network into multiple logically separate networks, enforced by your switch and router, not just a different Wi-Fi name. Devices on different VLANs genuinely can't reach each other unless you explicitly allow specific traffic between them through firewall-style rules. Think of it as building real internal walls in your network, rather than just painting different rooms different colors on the same open floor plan.
A separate SSID versus a real VLAN
Lesson 8's second SSID, on a router that doesn't actually enforce separation, is a naming convention at best. A real VLAN is enforced at the network layer itself, a device on VLAN 20 genuinely cannot reach a device on VLAN 10 unless a firewall rule explicitly permits it. That enforcement is the entire point, and also exactly why it requires more capable hardware and more setup effort than a simple second SSID.
What you actually need for a real VLAN
A router or firewall capable of VLAN routing and firewall rules between them, a managed switch that supports tagged VLAN traffic if you have more than one switch involved, and access points that support broadcasting multiple SSIDs onto different VLANs simultaneously. Most basic consumer routers can't do this out of the box, which is precisely why this isn't a default recommendation in this course.
When you genuinely don't need a VLAN
If your starter kit is a handful of devices, if you don't own a managed switch already, and if Lesson 8's simple separation isn't causing any actual problems, skip this entirely for now. A VLAN solves problems you likely don't have yet, and adds real complexity and new failure modes you'd be taking on for no practical benefit.
When a VLAN starts making sense
A genuinely large device count (dozens of IoT devices of mixed, uncertain security quality), a household that already owns managed networking gear for other reasons, or a specific desire to keep certain devices (cameras, for instance) completely unable to reach the wider internet except through Home Assistant. If any of these describe you, the investment starts paying for itself.
A VLAN doesn't replace security basics
Strong, unique passwords, keeping firmware updated, and two-factor authentication where available (all covered fully in Module 8) matter regardless of whether you segment your network. A VLAN limits the damage a compromised device can do to the rest of your network, it doesn't prevent that device from being compromised in the first place.
A typical VLAN layout in a Home Assistant household
| VLAN | Contains |
|---|---|
| Trusted / main | Phones, laptops, Home Assistant itself |
| IoT | Smart plugs, bulbs, sensors |
| Cameras | Security cameras, often kept fully isolated from the internet |
| Guest | Visitor devices, internet only |
What to plan for if you do go this route
Home Assistant needs explicit firewall rules allowing it to reach the IoT and camera VLANs, since it needs to control those devices directly. Your phone needs to reach Home Assistant on the trusted VLAN. Get these two rules right before locking everything else down, they're the ones that break the whole system if missed.
The simplest possible rule set to start with
Allow the trusted VLAN to initiate connections to the IoT and camera VLANs (so Home Assistant and your phone can reach devices). Block the IoT and camera VLANs from initiating connections back to the trusted VLAN (so a compromised device can't reach your laptop). Allow all VLANs internet access unless you specifically want to block it for cameras. That's a genuinely solid starting ruleset most households never need to complicate further.
Managed switches and access points: why they come up
A managed switch lets you assign specific ports to specific VLANs and pass tagged VLAN traffic between switches. A VLAN-capable access point can broadcast multiple SSIDs, each mapped to a different VLAN, from the same physical hardware. Neither is exotic equipment anymore, prosumer brands like Ubiquiti and TP-Link Omada offer approachable options, but they are a real purchase beyond what a basic consumer router provides.
Terms you'll encounter later: access, trunk, tagged, untagged
If you go deeper into VLANs later, you'll run into these terms constantly. An access port belongs to exactly one VLAN and doesn't need any tagging, it's what a single device like a smart plug connects to. A trunk port carries traffic for multiple VLANs simultaneously, tagged so each packet identifies which VLAN it belongs to, typically used for switch-to-switch or switch-to-router links. Untagged traffic on a trunk usually falls into a default "native" VLAN. None of this needs to make full sense right now, just recognize the words when you see them in a router's advanced settings later.
What might stop working after adding VLANs
The same casting and initial-pairing issues from Lesson 8 apply here, more strictly. Cross-VLAN mDNS discovery (relevant to that homeassistant.local address from Lesson 5) often needs a dedicated mDNS reflector service configured on your router, since mDNS traffic doesn't naturally cross VLAN boundaries on its own.
Don't lock yourself out
The single most common VLAN mistake: configuring firewall rules so aggressively that you accidentally block your own management access to the router or switch itself, locking yourself out of the very device you need to fix the mistake. Always test changes from a connection method you know will keep working (a direct Ethernet cable to the router, for instance) before applying rules over Wi-Fi that might cut off your own access.
What not to do at this stage
Don't buy managed networking equipment before confirming you actually need this level of separation. Don't attempt your first VLAN configuration the same day you're trying to install Home Assistant, tackle one complex project at a time. Don't skip testing your management access before applying restrictive rules.
What this looks like for your mini smart home
For your Module 1 starter kit, skip VLANs entirely for now. Lesson 8's simple separation is genuinely enough at this device count, revisit this lesson later if your smart home grows substantially.
A real example of when a VLAN actually helped
A reader with over sixty smart devices, including several budget security cameras from a manufacturer later found to have shipped a serious vulnerability, was able to confirm their cameras had zero ability to reach anything beyond the internet feed they legitimately needed, because they'd already put them on an isolated camera VLAN months earlier. The vulnerability made headlines. Their specific household was never at risk from it, not because the cameras were magically more secure, but because the network architecture meant a compromised camera simply had nowhere interesting to go. That's the entire value proposition of this lesson in one real example.
VLAN IDs: the numbers behind the names
Every VLAN is identified by a numeric ID from 1 to 4094, and while the number itself carries no inherent meaning, most networking gear treats VLAN 1 as a default, untagged native VLAN that's often best left alone or used only for switch management traffic. A common, easy-to-remember convention many home networks adopt: VLAN 10 for trusted devices, VLAN 20 for IoT, VLAN 30 for cameras, VLAN 40 for guests, leaving gaps between numbers in case you want to add a category later without renumbering everything. There's no requirement to follow this exact scheme, but picking a consistent, documented numbering pattern from the start saves real confusion once you're several VLANs deep and trying to remember which number means what.
What a budget-friendly managed switch actually costs
VLAN-capable managed switches used to be exclusively enterprise, expensive equipment. That's no longer true: prosumer brands aimed squarely at home lab and smart home enthusiasts now offer small managed switches, often eight ports, at a price much closer to a mid-range consumer router than an enterprise purchase. A VLAN-capable access point costs somewhat more than a basic consumer one, but the gap has narrowed considerably in recent years as this style of home networking has become more mainstream. Budget for this as a deliberate upgrade project, not an impulse purchase, since it only pays off once you're actually ready to configure the VLANs, firewall rules, and access points that make use of it.
Home Assistant with multiple network interfaces
Some Home Assistant hardware, particularly a mini PC or NAS with more than one network port, can be configured with a dedicated interface or a tagged VLAN sub-interface reaching into the IoT VLAN directly, alongside its main connection to the trusted VLAN. This is a genuinely advanced configuration, generally only worth pursuing once you're comfortable with the VLAN and firewall concepts covered earlier in this lesson, but it's worth knowing the option exists: it can simplify firewall rules considerably by giving Home Assistant its own dedicated, always-permitted path into the IoT segment rather than relying entirely on inter-VLAN routing rules.
Monitoring your VLANs after setup
Once VLANs are running, most managed switches and VLAN-capable routers offer some form of traffic monitoring or logging per VLAN, worth glancing at occasionally rather than obsessing over daily. A camera VLAN suddenly generating far more outbound traffic than expected, for instance, is worth investigating, it could be a firmware update behaving normally, or it could be a sign something on that VLAN is doing something it shouldn't. You don't need dedicated network monitoring software for a home setup, periodic spot-checks through your router or switch's built-in traffic graphs are enough to catch anything genuinely unusual.
Rolling out VLANs without a household revolt
If other people share your home, a mid-project VLAN misconfiguration that knocks a TV or a laptop offline unexpectedly is a fast way to generate frustration with the entire smart home project, not just this specific change. Plan VLAN work for a low-stakes window, not during a video call someone's relying on or right before guests arrive, and give a heads-up that the internet might briefly hiccup. Small courtesies like this go a long way toward keeping the rest of the household patient with a project that, by this point in the module, is clearly more involved than "plug in a smart plug."
Backing out of a VLAN change that isn't working
Before making any VLAN change, export or screenshot your router's current configuration, most consumer and prosumer routers offer a configuration backup option specifically for this purpose. If a change goes badly, either locking you out or breaking something unexpectedly, restoring that backup is dramatically faster than trying to manually reconstruct settings from memory under pressure. Treat this the same way you'd treat a backup before any risky software change: cheap insurance you'll rarely need, invaluable on the one occasion you do.
A gradual, one-VLAN-at-a-time rollout
Rather than standing up all four VLANs from the earlier example table simultaneously, most successful rollouts happen one segment at a time: set up the IoT VLAN first, migrate a handful of test devices, confirm Home Assistant can still reach and control them correctly, then move on to cameras, then guest. Each stage is small enough to fully understand and, if needed, reverse, and by the time you reach the last VLAN, the pattern feels routine rather than overwhelming. Patience during rollout is what separates a smooth transition from a stressful weekend spent chasing a single misconfigured rule across four segments at once.
A note for renters and shared housing
If you're renting equipment that came with the unit, or sharing a network with roommates who aren't part of this project, VLANs are almost certainly not worth pursuing, the equipment likely can't support it, and the coordination overhead of managing shared infrastructure with people who didn't sign up for the added complexity isn't worth the marginal security benefit. Lesson 8's simple guest-network-plus-second-SSID approach remains genuinely appropriate and sufficient in these situations, save the full VLAN build for a home where you control the equipment end to end, and where any misconfiguration only inconveniences you rather than everyone you share a lease with.
Key takeaways
A VLAN is enforced network separation, requiring capable hardware most consumer routers don't offer.
Most households genuinely don't need one, and Lesson 8's simple approach is enough.
A VLAN limits damage from a compromised device, it doesn't replace basic security hygiene.
Test your own management access before applying restrictive firewall rules.
With the full range of network options covered, Lesson 10 pulls it together into three concrete example layouts, simple, reasonable, and full-featured, so you can pick the one matching your actual ambition instead of designing from scratch.
