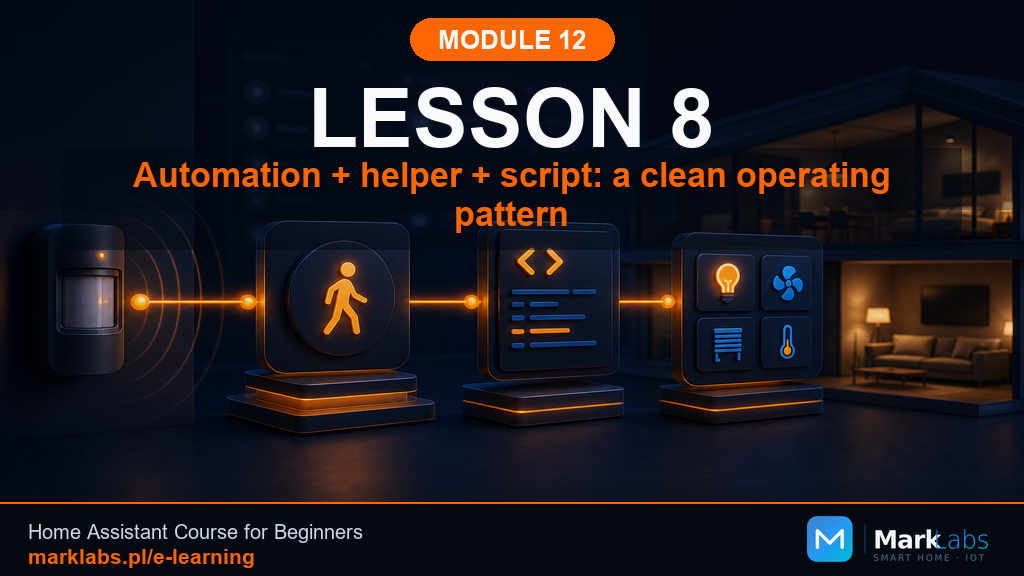
Automation Plus Helper Plus Script: A Proper Working Schema
Every piece built across this module so far has stood alone, one helper, one scene, one script. This lesson combines all three genuinely properly, an automation that checks a helper, starts a timer, and calls a script, showing exactly how these pieces are meant to fit together in a real, working home.
Why one piece alone is never quite enough
An automation alone genuinely handles a single trigger reacting once, a helper alone just stores a value, and a script alone does nothing at all until something calls it. Real household logic almost always needs several of these working together, a trigger deciding when, a helper deciding whether, and a script deciding what happens, each piece doing exactly the one job it's genuinely best suited for.
The schema this lesson builds
Hallway motion triggers an automation, which first checks input_boolean.test_mode_hallway is off, then starts timer.hallway_off, and finally calls script.hallway_arrival, a small script that turns on the LED and logs a friendly notification. When the timer finishes, a second automation calls a different script, script.hallway_departure, turning the LED back off cleanly.
Step 1: build script.hallway_arrival
Create a new script named hallway_arrival containing two actions, turning the hallway LED on, then logging a notification reading "Hallway: motion detected, LED on." Keeping this logic inside a script rather than directly inside the automation means any future automation, a button, a different sensor, can trigger the exact same arrival behavior without duplicating it.
Step 2: build script.hallway_departure
Create a second script, hallway_departure, turning the LED off and logging "Hallway: timer finished, LED off." This mirrors hallway_arrival's structure deliberately, two clearly named scripts that together represent the full lifecycle of one single event, the hallway lighting up and later going dark again.
Step 3: rebuild Automation A around the helper, timer, and script
Update your existing motion-triggered automation so its action section now reads, condition on test_mode_hallway being off, start timer.hallway_off, then call script.hallway_arrival, in that exact order. The automation itself has genuinely gotten shorter and more readable, each concern, testing, timing, and acting, now lives in the piece specifically built to handle it.
Step 4: rebuild Automation B around timer.finished and the departure script
Update the timer's companion automation so it triggers on timer.hallway_off finishing and its single action calls script.hallway_departure. This automation's job is now genuinely obvious from reading it top to bottom, react to one event, call one script, nothing more buried inside it to untangle later.
Recording the full schema in your notebook
Draw out this schema in your notebook exactly as described, motion, helper check, timer start, arrival script, then timer finish, departure script, as a simple flow you can glance at instantly. A diagram like this, however roughly sketched, is genuinely worth more than scrolling through several separate automations trying to reconstruct how they connect from memory alone.
Testing the full schema end to end
Trigger motion with test mode off and confirm, in order, the timer starts, the arrival script runs, and thirty seconds later the departure script runs automatically once the timer finishes. Then flip test mode on and confirm the entire chain genuinely stops right at the very first condition, never reaching the timer or either script at all.
Reading two traces and two script runs together
A single motion event now genuinely produces four separate records worth checking, Automation A's trace, hallway_arrival's script trace, Automation B's trace, and hallway_departure's script trace. Reading all four together, in the order they actually ran, is exactly how you'll debug this kind of layered schema once it's part of a larger, busier home.
What can genuinely go wrong
The most common mistake at this level of complexity is forgetting to update one piece after changing another, editing hallway_arrival's brightness but leaving Automation A's old, now-duplicate action still in place alongside the new script call. Whenever you introduce a script to replace inline actions, genuinely double-check the automation no longer performs that same action a second time on its own.
A hands-on exercise
Run the full end-to-end test described above twice, once with test mode off and once with it on, recording all four traces briefly in your notebook alongside your schema diagram. Then try disabling just hallway_arrival temporarily and confirm Automation A's own trace still shows the call attempt clearly, even though nothing visibly happens as a result.
Why this specific division of labor works
Each piece in this schema does genuinely one job and one job only, the automation decides when and whether, the timer decides how long, and the scripts decide what actually happens to the LED. This separation means changing any single piece, adjusting the timer's duration, or changing what the arrival script logs, never requires touching any of the others at all.
Extending the schema to a second room
Once this exact pattern works reliably for the hallway, extending it to the office genuinely takes very little extra effort, a second timer, timer.office_off, two more small scripts mirroring hallway_arrival and hallway_departure, and two more automations following precisely the same shape already proven here. Because every piece is genuinely named consistently and does exactly one job, copying the pattern to a new room is considerably more mechanical than inventing something new from scratch each time.
Shared scripts versus per-room scripts
It's genuinely tempting to build one generic arrival script accepting a room name as a field, rather than a separate hallway_arrival and office_arrival, and that's a perfectly reasonable direction once you're comfortable with script fields from the previous lesson. For now, two small, clearly separate, easy-to-read scripts are genuinely easier to reason about while you're still building confidence with this entire layered pattern, and nothing stops you from consolidating them later once the pattern feels comfortable.
Why the helper sits at the very top of this chain
Placing the test_mode_hallway condition as the very first check, before the timer even starts, means flipping that one single flag safely disables the entire downstream chain, timer, both scripts, everything, with nothing partially running in a confusing halfway state. Had the condition instead been buried somewhere in the middle of this chain, testing would genuinely become considerably messier, with a timer left running or a script partially executed despite test mode supposedly being on.
Comparing this schema to Module 11's original automation
Back in Module 11, a single automation handled trigger, condition, and action all in one place, genuinely fine for something that small and self-contained at the time. This lesson's schema looks considerably larger on paper, five separate pieces instead of one, but each individual piece is actually simpler than that original automation ever was, the added structure buys real clarity rather than adding genuine complexity.
Knowing when a schema like this is genuinely overkill
Not every single automation genuinely needs this much structure, a single light that only ever turns on and off with no test mode, no timer, and no reuse anywhere else is often perfectly fine as one plain automation with no helper or script involved at all. Reach for this fuller schema specifically when several pieces, a flag, a duration, a repeated action, are genuinely already present or clearly on their way, not as a default starting point for absolutely everything you build.
The notebook as the schema's real source of truth
With five interconnected pieces now working together, your notebook genuinely stops being an optional nicety and becomes the one place that shows the whole picture at a glance, since no single automation, script, or helper's own settings screen shows you all five pieces connected together in one view. Keep that notebook diagram genuinely updated every single time you touch any one piece of this schema, it's considerably cheaper to update now than to reconstruct entirely from scratch later on.
A closing thought on this module's whole arc
This lesson genuinely marks the point where every earlier piece built so far, the flag, the mode, the number, the timer, the scene, the script, finally comes together into one coherent, properly working whole, rather than sitting as seven separate, disconnected exercises. The mini project closing out this module next will lean on exactly this same schema once more, applying it genuinely confidently to an entirely second room.
Key takeaways
A proper schema splits responsibility, an automation decides when and whether, a timer decides how long, a script decides what.
Two clearly named scripts, arrival and departure, mirror each other and represent one event's full lifecycle.
A single event now produces four traceable records, read all four together, in order, when debugging.
Sketch the full schema in your notebook, a rough diagram beats reconstructing connections from memory later.
What's next
With a full working schema in place, the next lesson builds a dedicated diagnostic dashboard, gathering every helper, timer, and trace link from this module onto one screen built specifically for testing.
