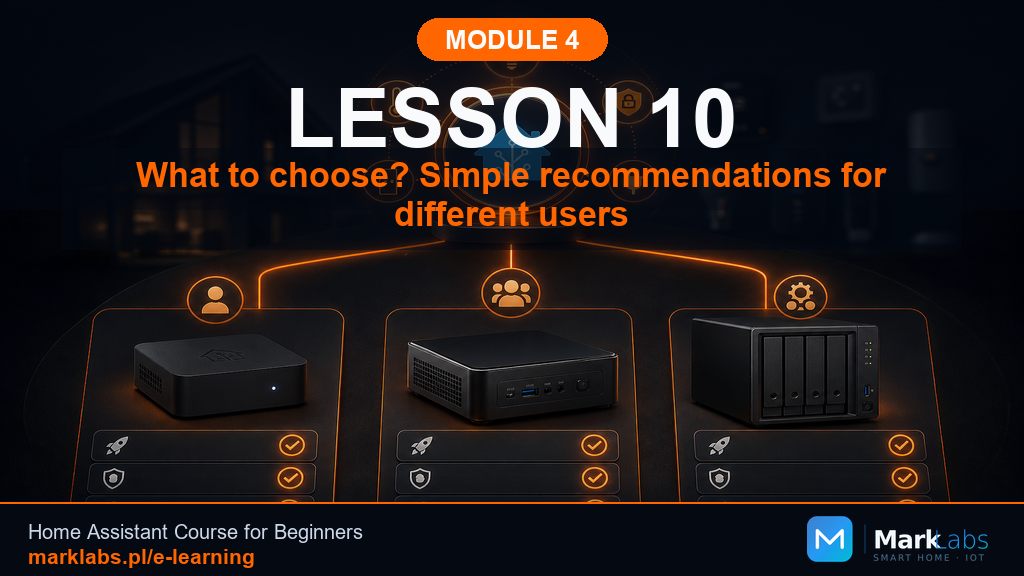
What Should You Actually Choose? A Simple Recommendation
Nine lessons of hardware options later, it's time to actually decide. This closing lesson pulls everything in this module into one simple, direct recommendation, confirms what you've built so far, and points you toward what's coming next.
Real scenarios: who chose what, and why
A reader with no interest in tinkering beyond the basics chose Home Assistant Green, wanting official support and a hands-off setup more than they wanted to save money. A reader on a tight budget, comfortable with a bit of secondhand-buying research, chose an off-lease thin client and got genuinely business-grade reliability for a fraction of retail price. A reader already dreaming of self-hosting several other services chose a mini PC with 16GB of RAM specifically to leave the Proxmox door open from day one. None of these choices is more "correct" than another, they're each correct for that specific household.
Decision table: a quick overview
| If you want... | Choose |
|---|---|
| Simplest, most hands-off setup | Home Assistant Green |
| Wireless smart hub built in | Home Assistant Yellow |
| Lowest cost, comfortable tinkering | Raspberry Pi with SSD, or thin client |
| Best value for the money | Off-lease thin client |
| Room to grow, other services later | Mini PC, 16GB RAM |
| Already own a lightly loaded NAS | Try Home Assistant Container on it |
My recommendation, in three variants
If you genuinely don't know which to pick and just want a confident default, choose Home Assistant Green, it removes nearly every hardware decision from the table and lets you focus entirely on the software you're about to learn. If budget is your primary constraint, choose a well-vetted off-lease thin client following Lesson 5's buying checklist closely. If you already suspect you'll want to run more than Home Assistant on this hardware eventually, choose a mini PC with 16GB of RAM now rather than buying twice.
What you've covered in Module 3
You've walked through five distinct hardware categories, official Home Assistant Green and Yellow, the Raspberry Pi, mini PCs, off-lease thin clients, and NAS devices, plus a full look at when Proxmox virtualization is worth planning for. You've learned the four specs that actually matter, disk, RAM, processor, and power, and how to read past marketing language to find them on a real listing. And you've seen how to think about total cost of ownership over five years, not just the number on the price tag at checkout.
Checklist: what you should know by the end of Module 3
You should be able to name the hardware category you're leaning toward, and explain in one sentence why it fits your household. You should know roughly how much RAM and storage that choice needs, and whether a genuine SSD is part of the plan. You should have a rough sense of whether Proxmox is relevant to you now or something to revisit later. And you should feel confident reading a real retail or secondhand listing and picking out the four numbers that actually matter.
What this looks like for your mini smart home
For this course's starter kit specifically, any option in the decision table above comfortably covers it. Pick the one that matches your budget and appetite for tinkering rather than agonizing over marginal performance differences that genuinely won't matter for a household-scale smart home setup, this decision is far more reversible than it might feel right now.
Common gaps before installation
Before moving forward, double-check you've actually purchased or set aside the hardware itself, not just decided on a category in the abstract. Confirm you have a genuine SSD or equivalent storage on hand, not planning to "add it later." And make sure Module 2's network foundation, fixed IP addressing, wired connection where possible, is still fresh in your mind, you'll lean on it directly during installation.
What you don't need yet
You don't need a Zigbee dongle yet, that's Module 6. You don't need Proxmox installed, or even fully decided on, unless you already know you want it. And you don't need every accessory and case option this module mentioned in passing, buy what your chosen hardware actually needs and nothing more, you can always add accessories later as real needs emerge rather than guessing upfront.
What's coming in Module 4
Module 4 steps back from hardware entirely and covers the communication protocols, Zigbee, Wi-Fi, Z-Wave, and Matter among them, that let your future devices actually talk to Home Assistant once it's running. Understanding these before installation makes several early decisions in Module 5 much clearer, particularly if you're planning to add a Zigbee dongle or any protocol-specific hardware down the line.
Still on the fence? Here's what to do
If you've read this whole module and still can't decide, that's genuinely fine, default to Home Assistant Green. It removes the decision entirely, comes with real support behind it, and lets you get hands-on with the actual software sooner rather than later, you can always revisit hardware once you have real experience to inform that choice, which is honestly a better position to make this decision from than reading about it in the abstract.
A quick recap: the five categories, one line each
Home Assistant Green and Yellow: official hardware, minimal setup, real vendor support, a modest price premium for that peace of mind. Raspberry Pi: flexible, widely supported, genuinely capable once you remember to boot from SSD rather than microSD. Mini PC: the most headroom and the cleanest path into Proxmox virtualization, at the highest price point in this module. Off-lease thin client: often the best raw value here, provided you follow the buying checklist from Lesson 5 closely. NAS: a genuinely convenient option if you already own one and it isn't already busy with other demanding jobs, a real trap if it is.
A note on not overthinking this decision
It's easy, after nine lessons covering every angle of this decision, to feel like getting hardware "wrong" will somehow doom your entire smart home project. It won't. Every option covered in this module comfortably handles a genuine starter kit, and the small performance and cost differences between them matter far less in practice than simply getting started with something and building real, hands-on experience. If you're genuinely torn between two reasonable options, pick the one that feels more approachable to you personally and move forward, you can always adjust course later with real experience behind you.
Module 3 in one paragraph
Home Assistant needs somewhere to actually run, and this module walked through every reasonable option: official hardware for those who want simplicity and support, a Raspberry Pi for flexibility and a strong community, a mini PC for raw headroom and virtualization potential, an off-lease thin client for the best pure value, and a NAS for households that already own one and have room to spare. Four specs, disk, RAM, processor, and power, cut through every listing's marketing language, and a five-year cost lens kept the comparison honest rather than fixated purely on the sticker price at checkout.
A last word before you move on
Whatever you chose, you now have something genuinely important that most people skip past entirely when starting a smart home: a real understanding of why that specific piece of hardware is the right fit for your household, not just a name copied from a forum thread or a friend's recommendation. That understanding will keep paying off long after installation, the next time you're troubleshooting a slowdown, deciding whether to upgrade, or explaining your setup to a curious friend, you'll have the actual reasoning behind your choice rather than a vague sense that it was probably fine.
If you're setting this up for someone else
Some readers of this course are setting up Home Assistant for a parent, a less technical partner, or another household member rather than purely for themselves, worth a specific note here. In that situation, lean more heavily toward Home Assistant Green than this lesson's general guidance might otherwise suggest, the official support channel and hands-off update experience matter considerably more when you won't be the one troubleshooting every hiccup in person, and the modest price premium buys real peace of mind for both you and the person actually living with the system day to day.
If you're the household's designated tinkerer
If you're genuinely comfortable troubleshooting hardware issues yourself and enjoy the process, the calculus shifts the other way, an off-lease thin client or a Raspberry Pi build offers more value per dollar and more room to learn by doing, without the modest premium official hardware charges for handling that troubleshooting on your behalf. Neither path is more legitimate than the other, this course exists to help you make an informed choice that fits how you and your household actually want to interact with the technology running in the background of daily life, not to push you toward whichever single option happens to look most impressive on paper or in an enthusiastic online forum thread written by someone with a genuinely very different household setup, budget, and set of real day-to-day priorities than the one you yourself actually have to work with here today, right now, in your own particular home.
Revisiting your choice a year from now
Whatever you choose now doesn't have to be permanent. A year from now, with real experience running Home Assistant day to day, you'll have a much clearer sense of whether you've outgrown your current hardware, want to add Proxmox and other services, or are perfectly happy with exactly what you already have. Revisit this module then if that question comes up, the reasoning and comparisons here will still apply, and you'll be evaluating them with far more real-world context than you have on this first pass through, including a genuine, hard-won sense of how your household actually uses Home Assistant day to day, rather than how you merely imagined you might use it before ever installing anything at all in the first place.
Thank you for working through this module
Hardware decisions can feel disproportionately stressful early on, precisely because they involve real money and feel hard to reverse. Hopefully this module has shown you that it's a far more forgiving decision than it first appears, every option covered here comfortably supports a genuine smart home, and the specific choice matters far less than simply getting started. Take the decision you've reached, order what you need, and get ready to actually put it to work, the next module will make sure you understand exactly how your future devices will talk to it once it's running, and the one after that finally walks you through the installation itself, step by step, from a blank piece of hardware to a fully working Home Assistant instance ready for its very first automation, and you'll get there with a genuinely solid foundation underneath you the whole way.
Key takeaways
There's no single "correct" hardware choice, only the right fit for your budget and ambition.
Home Assistant Green is the confident default if you're still undecided.
Confirm your hardware and storage are actually in hand before moving to installation.
Module 4 covers the communication protocols your future devices will actually use.
You now have real hardware picked out, or at least a clear direction, and a genuine understanding of why it fits your household. Module 4 builds the protocol knowledge you'll lean on the moment you start adding real devices.
